We may receive a commission when you make a purchase from one of our links to sites such as eBay and others. As an Amazon Associate we earn from qualifying purchases. Thank you for support!
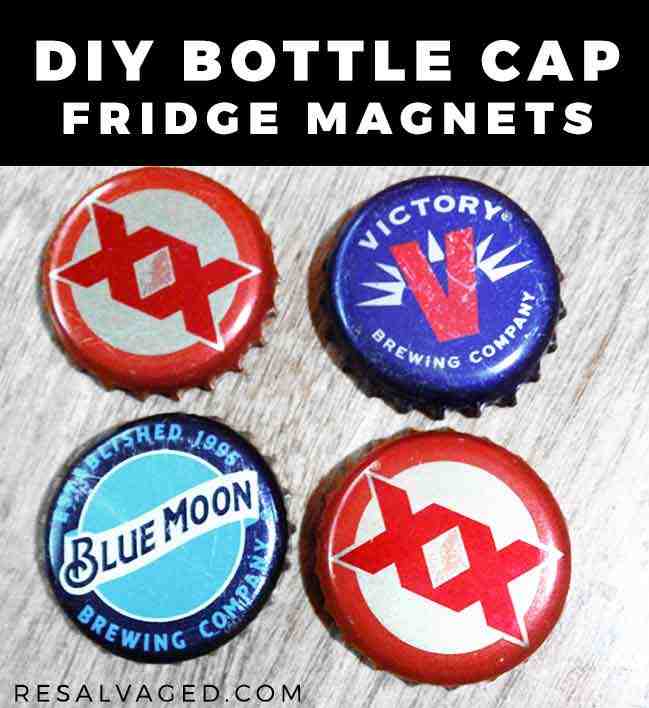
Today I wanted to share a super simple and fun tutorial on how to make your own DIY Bottle Cap magnets. Not only are they easy to make, they are also a great homemade gift idea for family and friends.
I started collecting bottle caps when I first started metal detecting – they seemed to be abundant, especially in parks and on beaches in places where people sadly have a tendency to litter. So, if you like to metal detect and find a lot of bottle caps, you might like to do this as a fun and easy way to display and share all your finds!
There are a lot of different possibilities on ways to make bottle caps into magnets, and you can use either metal or plastic bottle caps for a number of different projects. In this DIY craft tutorial, we’ll be making the magnets using metal bottle caps such as the kind that come on soda, beer or other glass bottles and we’ll be preserving the image on the top of the bottle cap.
Of course, you can also learn how to alter bottle caps, and they can be used for all sorts of great things, such as photo frames, keychains, wall art, fridge magnets, and more!
How to Make Bottle Cap Magnets: DIY Tutorial
To get started in making these magnets, the first thing you will need to do is gather your supplies. You will need clean bottle caps, sturdy magnets, buttons or washers, and a strong glue that can adhere to metal.
Here are the supplies we use:
- Clean Bottle Caps: You can usually find these pretty easily just by saving the caps from bottles or by asking family and friends to save them for you. You can also buy them on bulk on eBay if you want a lot or are looking for a certain design.
- Strong Glue That Sticks to Metal: Many people love E6000 glue when working with metal, but I prefer to use Gorilla Glue because it does not have quite as strong of a smell.
- Magnets: I like to use strong magnets, because one of my pet peeves are papers falling on the floor off the fridge.
- Washers: Depending on the thickness of the bottle cap and the magnets you use, you may wish to use washers before gluing on the magnet to make it so the bottle cap is easier to lift and won’t scratch surfaces such as your refrigerator or a filing cabinet. Any type of washer that is 1″ or less wide will work perfectly.
Once you have all of your supplies gathered, you are ready to get started!
Step by Step Instructions for Making DIY Bottle Cap Magnets
Making these magnets is fun and easy! Here’s how to get started.
Step 1: Clean the Bottle Caps
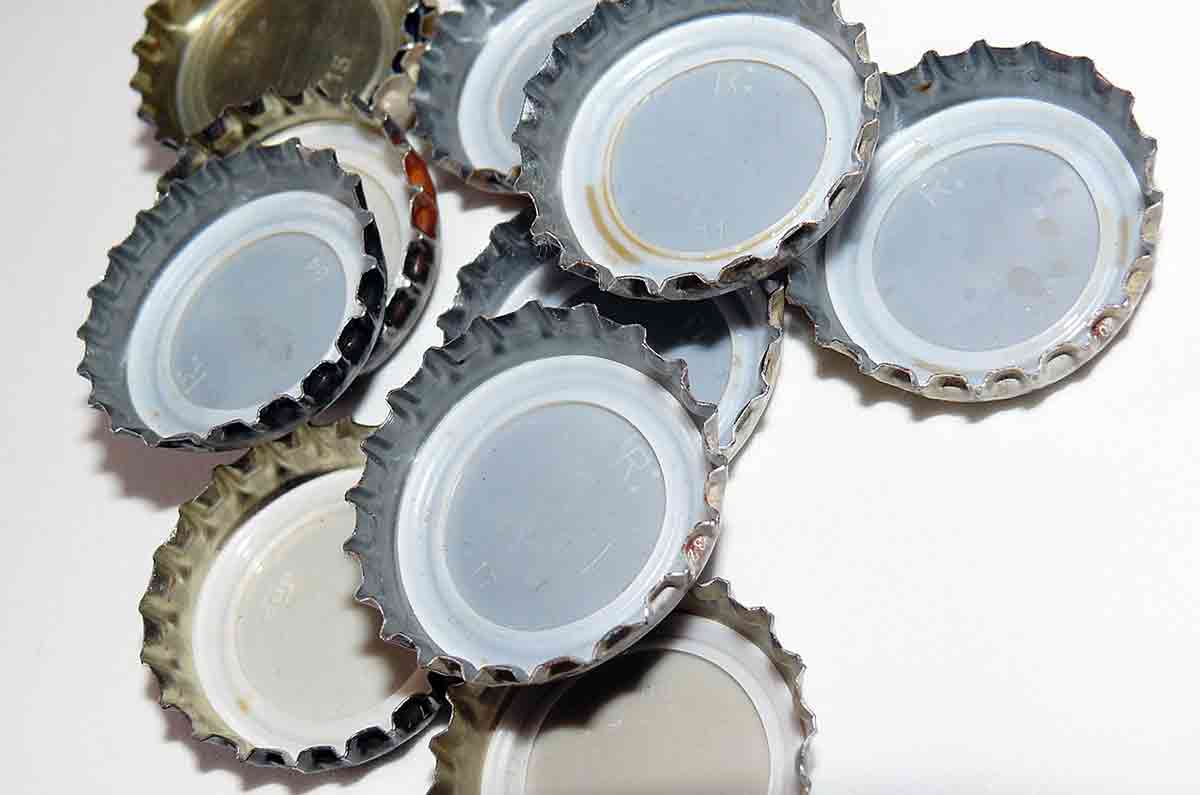
If you haven’t already cleaned your bottle caps, it is a good idea to make sure they are free of any dirt or sticky surfaces. This can be done easily in warm, soapy water.
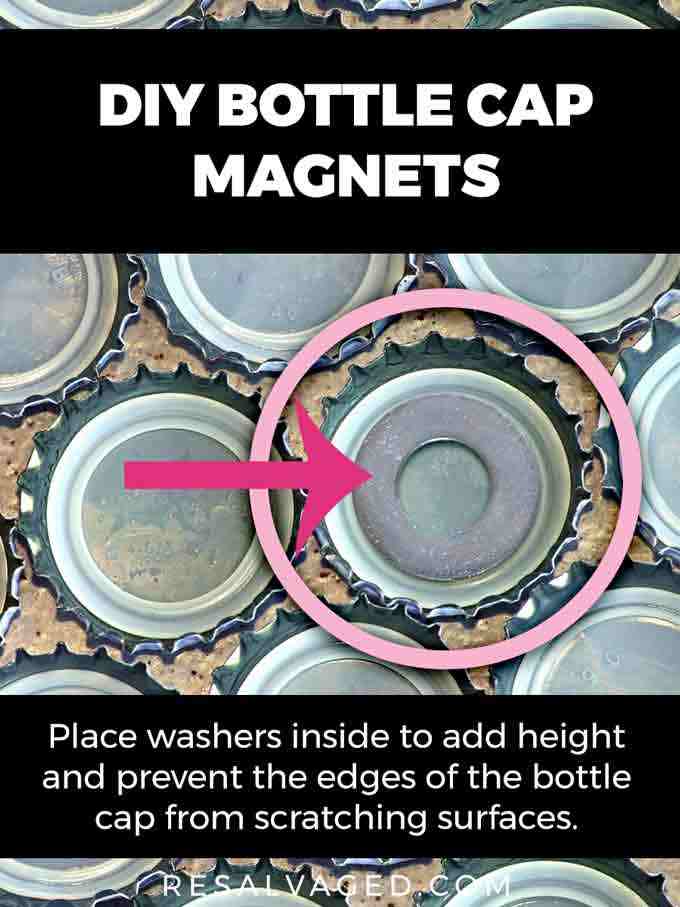
Step 2: Place the Washers & Magnet Inside Before You Glue
I always like to double-check before I start gluing anything, so I will usually put the washers and magnet inside the bottle cap first to make sure I have a good thickness that I like and also to ensure the magnet is in the right direction!
The washers are super helpful to make sure the bottle cap will be higher than the magnet – this will prevent any surfaces like your refrigerator from being accidentally scratched by the edges of the bottle lid.
And, make sure the magnet is in the right direction before you glue! If your magnet is sticking to the bottle cap, it likely needs to be turned over. You want to make sure the magnetic side will be facing whatever surface you want to use the magnet on.
Step 3: Glue in Place and Allow to Dry 24 Hours
Most of the heavy duty metal adhesives don’t need a full 24 hours to dry, but I like to wait just to ensure it will have a strong bond and will hold up for a very long time. If you are not sure how long it will take for the glue to dry, always check the directions on the back of the product you are buying.
Place a dab of glue on the inside of the bottle cap and between any washers and finally the magnet.
Some glues will require that you clamp in place, so if this is recommended by the manufacturer of the glue you are using, you may want to use a piece of painter’s tape or you can always use a set of plastic clamps- just make sure you don’t accidentally glue the clamp to the magnet!
Step 4: Stick to Your Fridge or Any Other Magnetic Surface!
Once the glue is dry, you are ready to use your magnets! Stick them to your fridge, filing cabinets, or any other magnetic metal surface and enjoy!
If you are making these as gift sets for friends, there are also a lot of fun and easy ways to package these! You can put them in a small gift tin and include a message or note or even print your own custom label.
Other Ideas for Using Bottle Caps in Crafts
Of course, this is just the beginning of different ways you can use bottle caps for magnets! I’m sure as we do more and more exploring with our metal detector and adding to our own personal bottle cap collection we will have a lot more ideas for ways to alter and use bottle caps for making art!
Here are some other ideas for making things with bottle caps:
- Bottle Cap Art: Use different colored bottle caps to create a mosaic style design or use random bottle caps to fill in a sillhouette shape on wood.
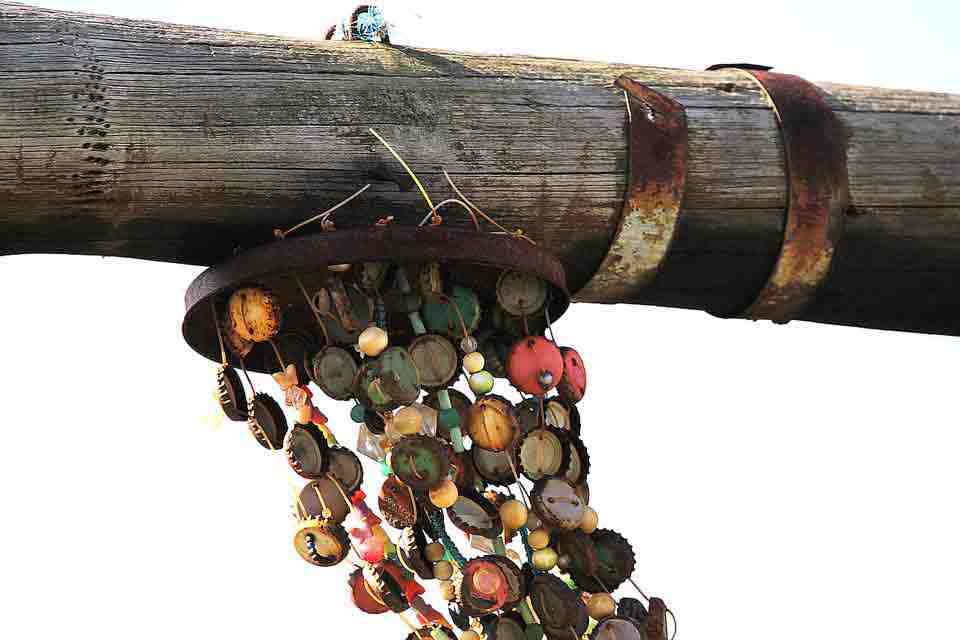
- Wind Chimes: It is easy to put holes through bottle caps and use them to create a one-of-a-kind windchime like the example shown above.
- Necklaces: You can make a bottle cap necklace easily by punching a hole through the lid and stranding on wire or a natural cord such as hemp.
So many possibilities!
What Are Your Thoughts?
I hope you enjoyed this DIY tutorial for how to make your own DIY bottle cap magnets, and of course if you have any questions, we are happy to answer them in the comments section below.
And, if you make your own bottle cap magnets or have other ideas for using bottle caps in crafts, we would love to see what you create! We would love to hear about your creations and ideas!