We may receive a commission when you make a purchase from one of our links to sites such as eBay and others. As an Amazon Associate we earn from qualifying purchases. Thank you for support!
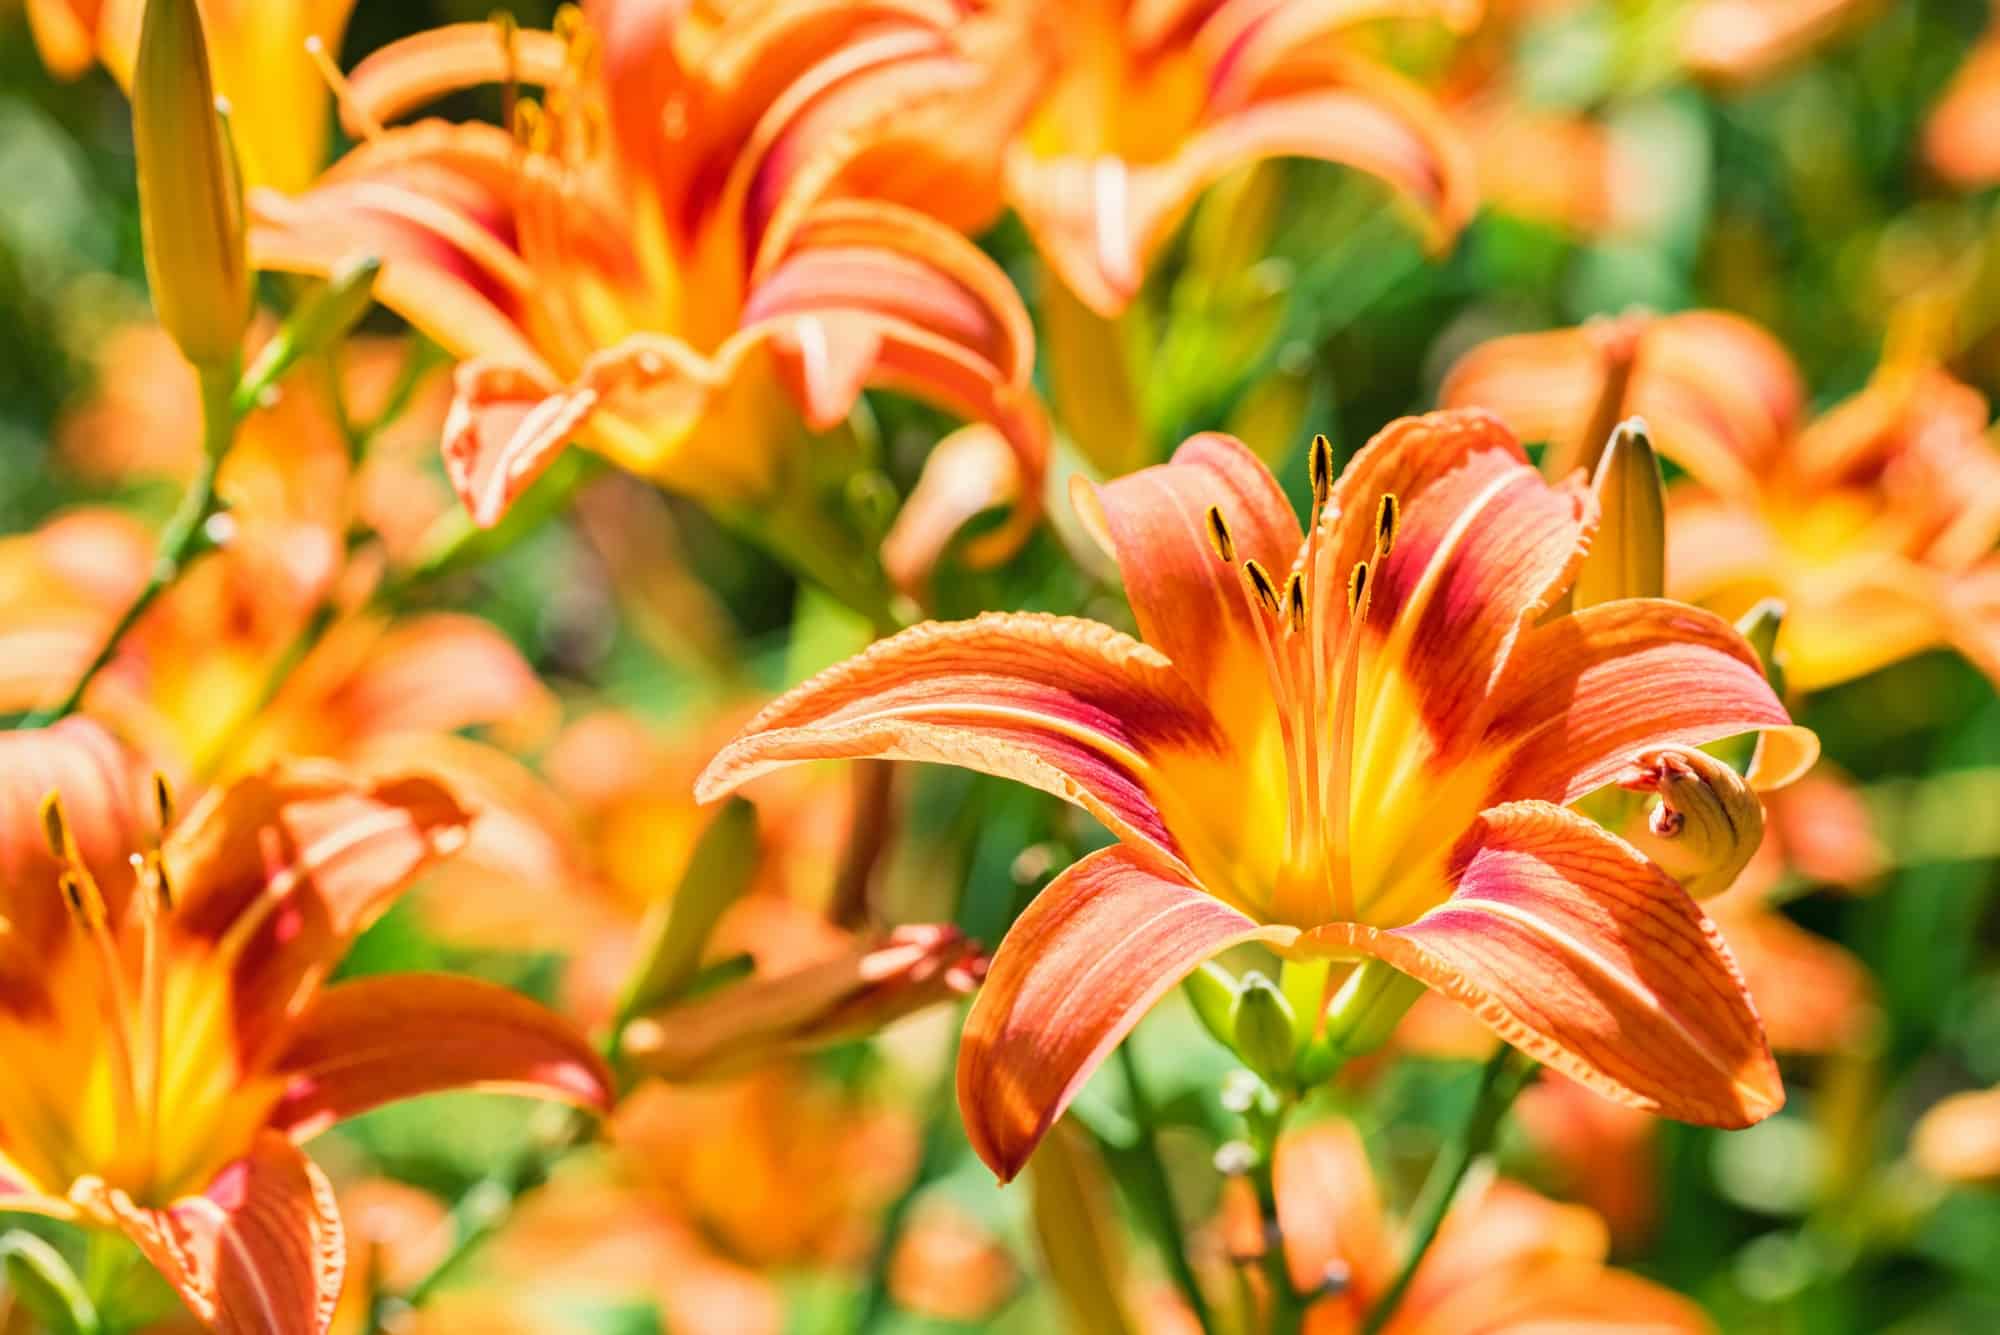
Daylilies are a great plant to have in your garden landscape. They are easy to grow – and easy to propagate! Once you grow one plant, you can soon have many!
Earlier this spring, one of the tasks we needed to do in the garden was to divide our daylily flowers. Once you learn how and when to split daylilies, you will be able to easily transplant these colorful perennial flowers.
Daylilies are very popular flowers in both the suburbs and urban areas. This perennial plant is common place in many areas.
Depending on the variety you plant, many will bloom all summer long from the end of May all the way up to September in most garden zones.

When to Split Daylily Flowers
The best time to divide your daylilies is in the fall, after the blooms are done for the season or in the very beginning of spring just as the plants are shooting up and not showing any signs of blooming or flowers.
The flowers themselves may only last a day or so – but the plant typically has multiple blooms going all season long.
Because it is a perennial flower, the plant requires very little maintenance. They do better with mulch around them. This makes them ideal for garden beds along paths and even in the front yard.
How to Divide Daylilies

Daylilies propogate through their rhizomes. You can see the rhimzomes in the photo above. Rhizomes are plant stems that shoot out roots and new plants.
If you don’t frequently divide up your daylilies, you may find they will quickly take over in any area you plant them.
Fortunately, they are easy enough to divide up and even if you don’t have a place to plant them it is quite likely you have a friend who might love some daylilies for their own summer garden!
Materials Needed:
- Large Garden Shovel
- Bucket or Container for the Plants You Are Digging Up
- Soil & Water for transplanting the divided plants
Step 1: Use the Shovel to Cut Out the Section You Want to Divide

Generally, it’s a good idea to keep at least 50% of the plant intact so that it stays healthy. You don’t need a huge section to grow daylilies, so if you only take 25% of a large plant that is usually more than enough!
I usually just use a large garden shovel to cut through the plant and dig it up. It may seem barbaric to cut through the plant and roots this way, but your daylilies will thank you for the extra space to keep growing!
Usually you’ll want to make sure any section you cut out has at least 10 green shoots sticking out of it – more or less is usually okay also – just trying to give you a reference to start with if you are a beginner! 🙂
Step 2: Dig Out the Divided Part

Typically digging this part out is very easy, especially if you are working in loose garden soil – there shouldn’t be too many stubborn rocks or roots from other plants in the way.
Once you successfully dig out the divided part of the plant, place the plant in a bucket or large container for easier transplanting.
Step 3: Rehome the Divided Daylilies
For best results, you’ll want to plant your divided daylilies as soon as possible. Be sure all roots are covered with dirt and give them a healthy drink. You may also wish to cover them with mulch, especially if you are transplanting in the fall and preparing your garden for winter.
If you cannot transplant them to their new home, make sure the plants rhizomes are covered with garden soil and you give them enough water. This will help them survive until they can get to their new forever spot in the ground.
Don’t have enough room in your garden? Ask around to see if you have any friends who might appreciate these beautiful flowers for their summer garden beds!
I hope this tutorial on how to divide daylilies is helpful for you. It’s a pretty simple process, and once you experiment with this you’ll probably be tempted to divide up all sorts of different plants that propogate with rhizomes!
If you enjoy our garden blog, please DO share this post on Pinterest! 🙂
It’s a great way to save money in the garden AND have an abundant amount of beautiful blooms for the whole summer.
Do you have any questions or tips to make dividing up plants easier? I’d love to hear your thoughts in the comments section below!