We may receive a commission when you make a purchase from one of our links to sites such as eBay and others. As an Amazon Associate we earn from qualifying purchases. Thank you for support!
The feather stitch is a beautiful embroidery stitch that can be done for all sorts of projects. You can use it as decorative stitches for borders, use it to create stems for flowers or even combine it with other stitches for all sorts of possibitilities!
How to Make the Feather Stitch

The feather stitch is worked from right to left.
Drawing 3 parallel lines can help you make sure you space the “feathers” of the stitch evenly.
Here is a diagram of what the feather stitch looks like when you work it:
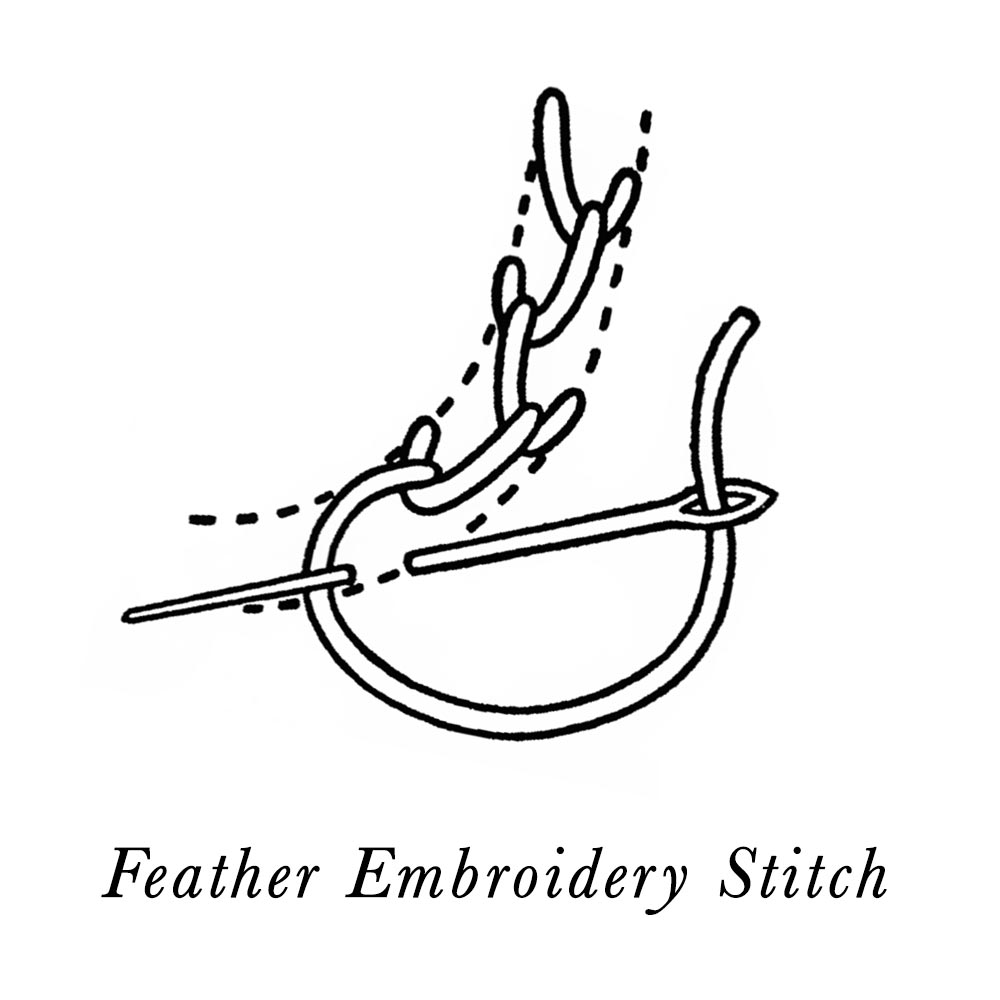
In the feather stitch, the thread is always brought round to the front of the needle before making a stitch. The upper part is made by making a small stitch down towards you. To make the the lower part, a stitch of the same length is taken turning upwards towards you.
If you are feather stitching for crazy quilts or adding it to something you’ve sewn, the feather-stitching should be worked just over the seam or hemline, and this will serve as a guide for keeping it straight. You’ll want to stitch it so the bottom of the top stitch should come just above the seam line, and the top of the lower stitch just below it.