We may receive a commission when you make a purchase from one of our links to sites such as eBay and others. As an Amazon Associate we earn from qualifying purchases. Thank you for support!
One of the awesome things about printable patterns is they are super easy to resize. You can change the size by either adjusting your print settings or you can use Adobe Acrobat Reader for enlarging patterns to tile across multiple pages.
Changing the Scale in Print Settings
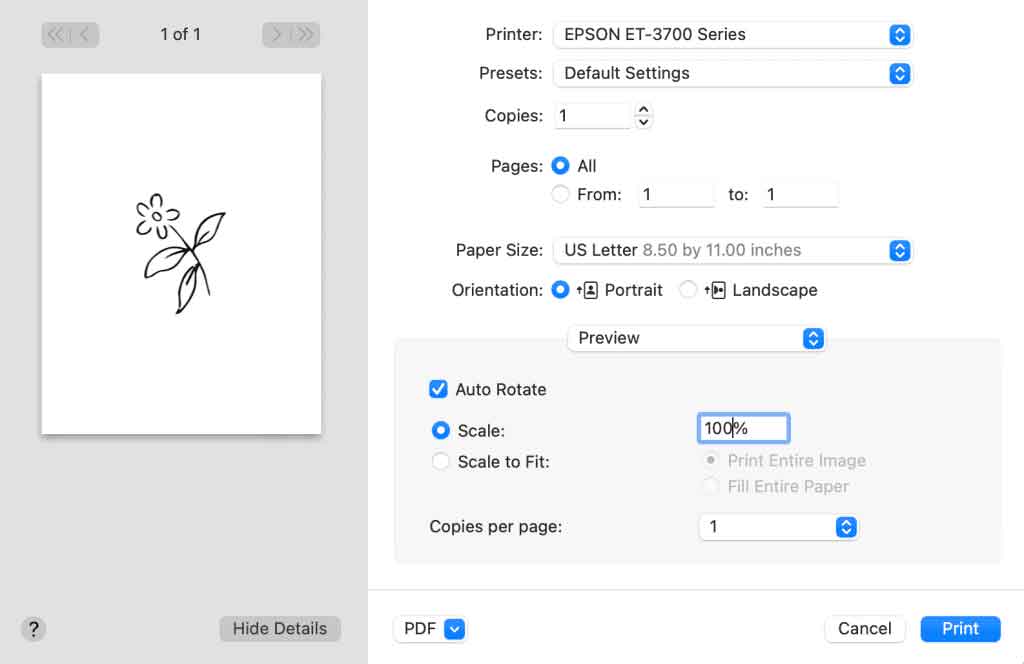
You can easily adjust the size of the printed file by changing the scale in the print settings window that pops up when you go to print something.
Go to File -> Print and a window will pop up that will look something like this:

Where it says “Scale”, you can change the size of the image by changing the number from 100% to be smaller or larger. In the example below, we changed it to 250%. If you wanted it smaller, you might change it to 50% or 25%.

Windows is very similar to Mac – simply open up the file and then go to File -> Print and from the print settings adjust the scale as needed. Here’s a screenshot example of what it will look like in Windows:

How to Enlarge Patterns to Tile Across Multiple Pages in Adobe Acrobat
Sometimes you may want to print a pattern extra big but your home printer can only handle 8.5×11 sheets. No worries, there is a very easy way to enlarge the pattern and tile it across multiple sheets.
You will need Adobe Acrobat Reader (you can download it free). Open the PDF with Acrobat Reader and go to File -> Print.
Adobe has its own print settings window that looks like this:

If you want to tile the print settings, you will want to click on the tab that says “Poster” under the Page Sizing & Handling options.
On the right, the dashed line shows you where and how the image will print across multiple sheets of paper.
You can adjust the scale for the size you want and I recommend using an overlap of at least .25 inch so you have some margin for lining the pages together for your pattern. You will also want to check the box for Cut Marks – this will give you registration marks to make it easier to line all the pages up together.
Click print and you’re all set! Use washi tape or a glue stick to attach your printed pages together and enjoy your enlarged pattern!
Professionally Printed Patterns
Of course, the easiest method of all to enlarge a pattern (and have it all on one sheet of paper!) is to have it professionally printed at your favorite local copy shop.
This is typically pretty inexpensive for just a few designs and you can easily resize from an 8.5 x 11 sheet of paper to something much bigger, like 11×17 or even 36″ wide sheets!
Most of our patterns are in the 8.5×11 size for easy printing at home, but for anything where you’ll be cutting and taping a bunch of sheets together we always include the full size pattern too so that if you want to have it professionally printed you can!
I hope these tips are helpful for you to easily resize and enlarge your patterns you download from Resalvaged and of course if you have any questions or get stuck you can always ask in the comments below or contact us.