
We may receive a commission when you make a purchase from one of our links to sites such as eBay and others. As an Amazon Associate we earn from qualifying purchases. Thank you for support!
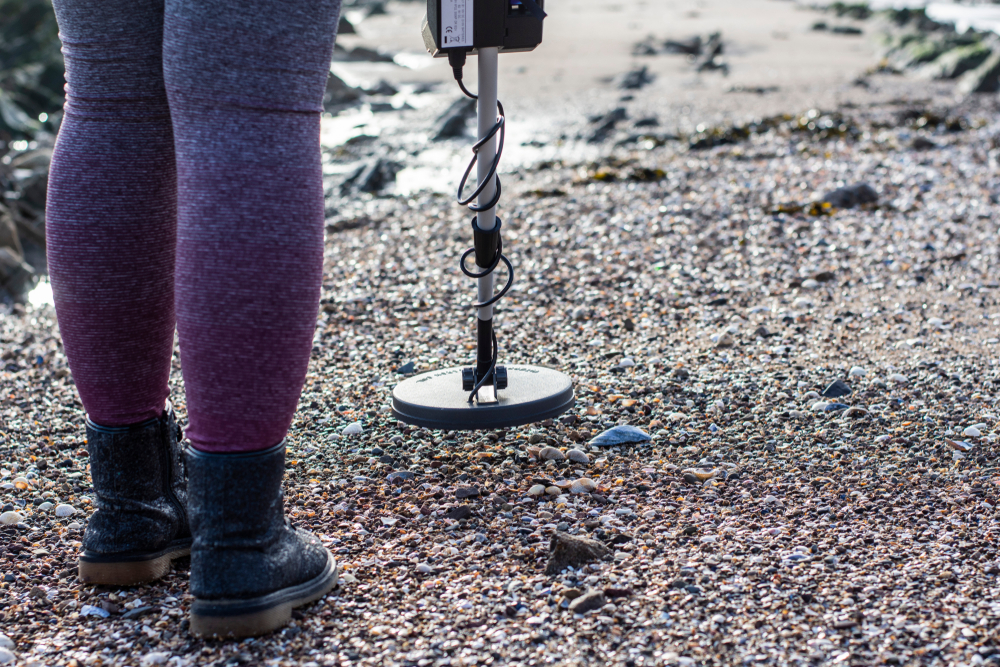
Metal detecting at the beach is one of my MOST favorite places to metal detect. Whether you go treasure hunting at saltwater or freshwater beaches, there’s a lot of potential to find all sorts of things.
Today we’ll share some tips for how to metal detect at the beach, plus our recommendations for some of our favorite tools & detectors.
These tips will help you have fun AND increase your odds of finding some great stuff while you use your metal detector at the beach!
1. Are You Detecting at a Fresh Water or Salt Water Beach? Use the Right Type of Metal Detector!
One thing that is often overlooked by many people who are new to metal detecting is that not all detectors are suitable for treasure hunting at the beach.
As we wrote in our guide for how to choose a metal detector, having the right type of detector for the environment you like to hunt can make all the difference!
The type of beach you visit makes the biggest difference: Is it a freshwater or salt water beach?
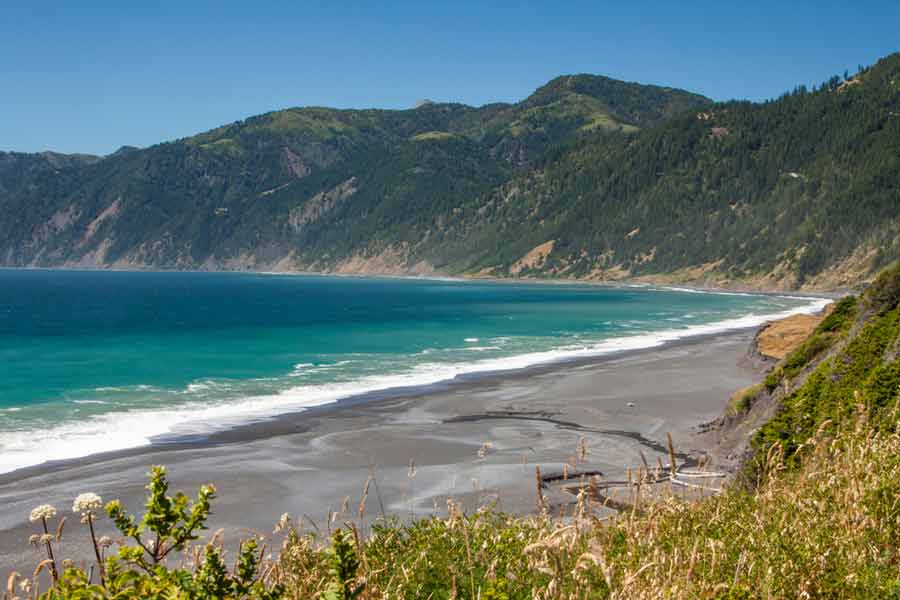
Saltwater beaches are those found on the coasts of oceans and other bodies of salt water. Beaches that border the Atlantic Ocean, Gulf Coast, and Pacific Ocean are all examples of salt water beaches.
Freshwater beaches are ones that are found along the coasts of bodies of fresh water, such as lakes and rivers. Great Lakes such as Lake Erie, Lake Michigan, and Lake Superior are all examples of very large fresh water beaches.
Depending on what beach you are searching, there may be naturally occurring minerals in the ground that can affect the sensitivity of your detector.
Salt water itself can cause some issues with some detectors, because of the way salt can change conductivity.
If you review our post on how metal detectors work, you might remember that detectors sense metal through electromagnetic induction.
This means that a current must be able to move through the magnetic field between your coil and the ground. Salt water may possibly cause some interference with your machine if the machine is not properly calibrated for this.
Ideally, your detector should at the very least be capable of adjusting for things such as ground balance and electrical currents.
While most detectors are suitable for fresh water beach hunting, you should definitely do some research on the different metal detector brands if you plan on searching salt water areas.
2. Can Your Metal Detector Go Under Water?
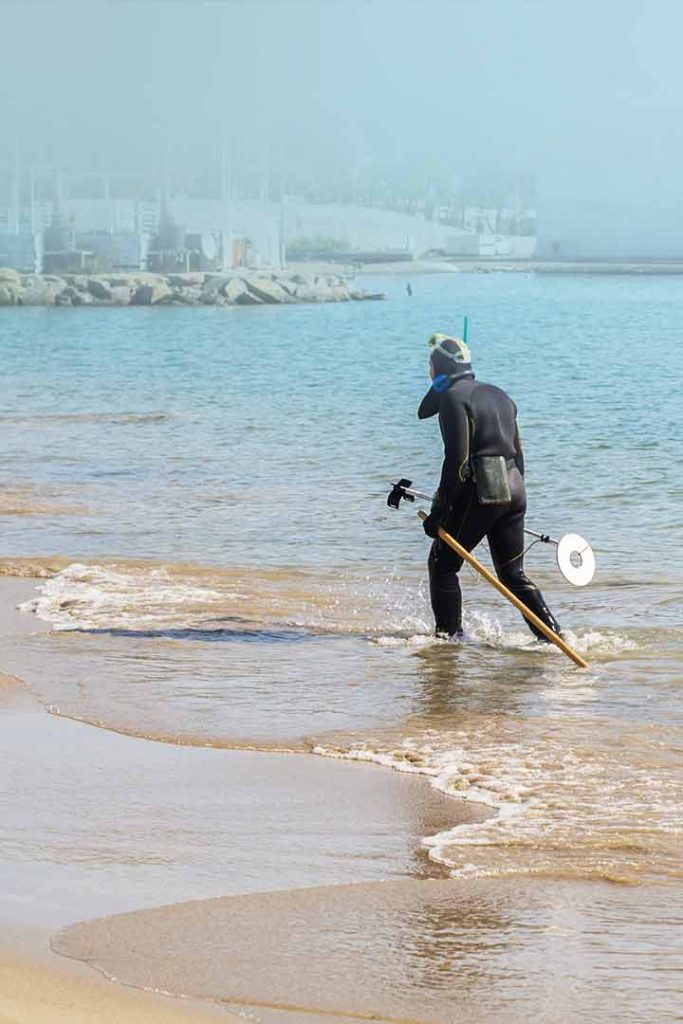
Another thing to consider when beach metal detecting is whether or not you plan to actually search in the water or if you’re content to just stick with the shoreline.
While many metal detectors are water resistant – and many more are actually designed to go under water, this may or may not be true for your current equipment.
If you already have a metal detector, make sure you read the manufacturer’s guidelines and specifications to ensure it can handle being submerged in water before you go surfing through the waves with it.
Some metal detector brands and models are specifically made to be submerged under water – others may only have a water-resistant coil.
The good news? You don’t need special equipment or even go anywhere near the water to find awesome stuff at the beach.
You can find lots of stuff just in the dry, sandy areas that are often traveled by the general beach-going public!
3. Pinpointers Are Twice as Nice at the Beach!
While you can find lots of stuff just on the surface or near the surface, a good pinpointer is always a good investment and helpful tool to have in your arsenal of equipment at the beach.
It’s always a good idea to have a pinpointer that is waterproof – even if you aren’t directly metal detecting in the water, there’s always the possibility that pockets of water may exist or a wave may wash up where you are digging.
The Wedigout underwater pinpointer is a good option to explore if you want to be able to submerse your pinpointer completely underwater.
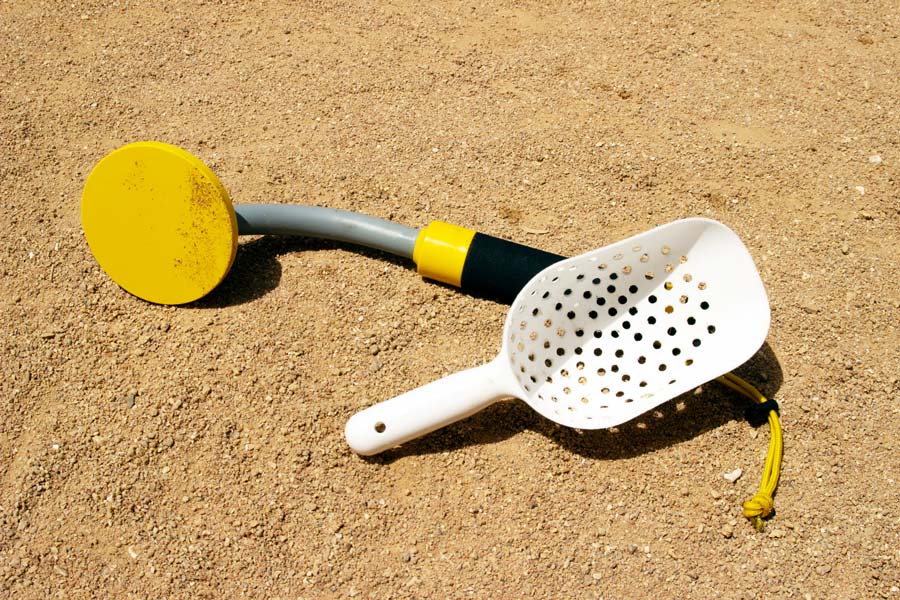
4. Bring a Sand Scoop
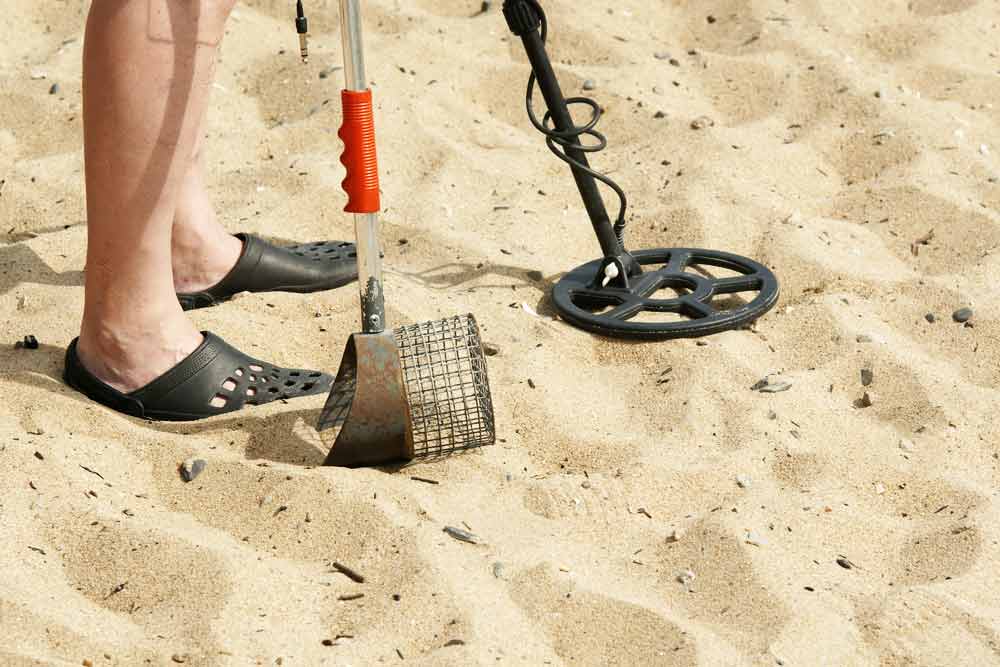
A sand scoop of some sorts is essential if you plan on actually being able to dig up anything you find while metal detecting at the beach.
Plastic sand scoops and sand sifting tools can be nice because they won’t accidentally set off your detector while you walk around, but they aren’t always able to easily dig stuff up.
This is especially true if you’re lifting wet sand which is heavy – there is always risk for the plastic handles to snap.
Read more here about some of my favorite metal detecting shovels and digging tools.
Many people have also had a lot of luck with the DIY make your own sand scoop route using simple plastic PVC pipes and connectors available at most hardware stores.
5. Always Make Sure You Have Permission

Now that we’ve talked about what supplies you might need to get started – we of course can’t forget it’s VERY important to always check the beach you want to visit allows metal detecting!
While most public beaches are great candidates for metal detecting, it is ALWAYS important to do your research first about laws and regulations for metal detecting in areas you want to visit.
Some areas may be protected and metal detecting could be off-limits, especially if the site has historical or environmental significance.
I usually search around freshwater beaches such as Lake Erie and other natural freshwater beach areas since our state parks in Pennsylvania are generally metal detecting friendly places as long as you check in with the state park office first.
Be sure that you always check for signs at the beach and respect all signs that indicate you should not enter or that certain areas may be off-limits.
6. Go During Off-Peak Times & Seasons

The best time to go metal detecting at the beach is when there are not a lot of people around everywhere.
When there are a lot of people everywhere, you won’t be able to hit up popular areas like the “towel line” – which is where everybody seems to park for the day and sunbathe.
Picnic groves and even the parking lot might be crowded and limit where you can go metal detecting.
I usually have the best success very late in the afternoon before sunset and very early in the morning as the sun rises.
Going in the off-season is also a great idea. For example, up north here not too many people go to the beach between Labor Day through Memorial Day.
Some of my favorite times to metal detect are in the late fall during the end of September and early October before the frost sets in.
7. Always Wear Sunscreen!
Sunscreen is always important, even if it’s not the middle of summer and even if you’re not at the beach. You should always protect your skin when you are metal detecting.
Another important thing to remember is that sunscreen usually only works for 1-2 hours before it needs to be reapplied. It’s always a good idea to put on sunscreen before you go out and then after every 1-2 hours you are out in the sun.
8. Research Tides & Water Movement

Every beach is different depending on the current tide, weather conditions and other environmental factors.
You can visit the exact same spot every day and you will start to notice there are definitely things that change with the seasons, time of day and weather patterns.
Every detectorist has their own theories and beliefs for what tide and water patterns make for better success.
The reality is there is “no one thing” that is best for every person and every area of the beach – you just have to do the research and practice for what works for you and the location where you are hunting.
If you go to the beach during low tides, you’ll notice people go to different areas of the beach, and you’ll also notice you can usually walk out farther than you might be able to venture during high tides.

As always, be sure to also research current dangers with water levels. Violent waves and powerful currents can be dangerous for even the strongest of swimmers.
Wearing a life jacket is not ridiculous – it’s a good safety practice even when metal detecting near rivers and creeks.
I know that nobody thinks about safety or maybe practicing safety doesn’t seem “cool” – but I’m a mom, so sorry, not sorry, I’m a stickler for safety and I’m telling ya to be safe. See more about metal detecting safety here.
9. Watch for Storms
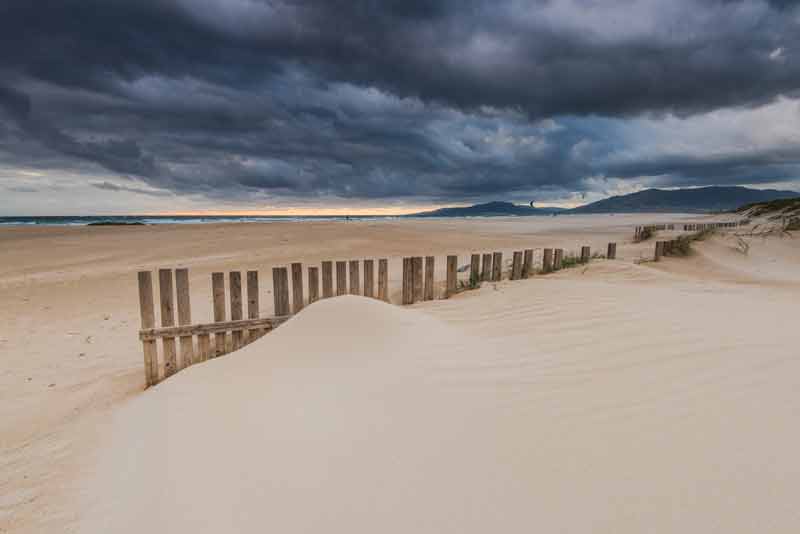
Storms can sometimes cause for things to appear that may not have been easy to discover before, other times storms can cause things to disappear completely.
It pays to pay attention to the current weather conditions at all times anytime you go outdoors. Storms at the beach can sneak up very quickly sometimes with little or no warning.
You should never go out metal detecting during a storm, especially because lightning and water can cause for dangerous conditions.
However, as soon as the storm passes – get thee to the beach quick!
Storms can often times cause sand to move – and as a result bring some new treasures to the surface, especially if waves have crashed into areas where they usually may not travel.
10. Identify & Search the Towel Line
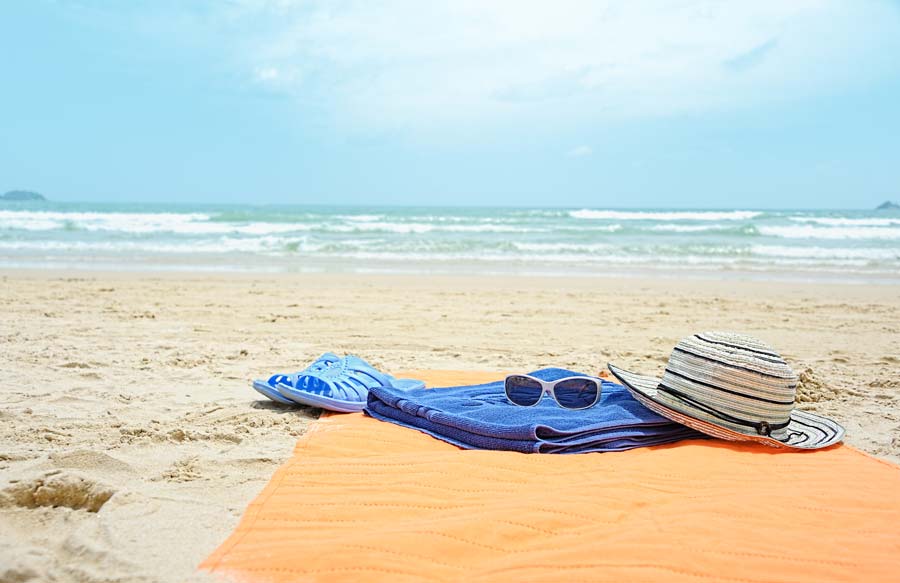
The “towel line” is what most of us metal detectorists lovingly refer to as that area where sunbathers and beachgoers set up their towels and place their stuff when they visit the beach.
While you’d think most people would be smart enough to leave their valuables, money, or even jewelry in the car or at home where it’d be safe, people bring this sort of stuff to the beach all the time…and of course it gets lost, right where they were sitting.
You can definitely find treasure in the towel line area – but you are also sure to find a lot of trash. I’ve found plenty of aluminum cans, bottle caps and even foil food wrappers buried in the sand.
Be sure that you only search these areas when the beach is empty. Nobody wants to be sitting there sunbathing and enjoying the beach for someone with a metal detector to search right next to them!
11. Look for Pools & Troughs of Water
Anywhere water moves in a stream or starts to form pools could be a good spot to look for things that may float. A lot of jewelry items will float if not filled with sand or heavy gemstones.
Many people are also attracted to these streams and pools of water to splash around in and play in, so this can sometimes be a spot where items are lost easily, especially since the movement of water can cause jewelry to break or slip off.
Pools of water usually gather around times when the tides start to change, so this may be something to consider when planning the days and times you go metal detecting at the beach.
12. Search Hidden & Private Areas of the Beach
Almost every beach has a publically available but slighltly more secluded private area where people are allowed to walk.
These spots can sometimes be places where people hide things on purpose. They can also be places similar to lovers lanes, so proceed with caution – you might end up interrupting someone’s romantic moment.
I recommend only searching these places during times when there are signs of life elsewhere – otherwise you might be in for an awkward moment of surprise.
If you do venture into these areas, it’s also a good idea to bring a friend along with you. While the odds of meeting any unsavory characters are low, it’s never bad to have a friend for backup just in case.
13. Decide What Metal Detector Settings Make Sense for You
A lot of gold and silver jewelry can sometimes give off false readings as being junk – and naturally a lot of junk will register as something potentially valuable.
If you metal detect frequently enough, you should be comfortable enough by now to know what settings work for you to help you reduce the amount of trash and inrease the amount of treasure.
I am one of those “no discrimination” sort of metal detecting people – I’ll gladly dig up a rusty nail just as soon as I’ll dig up coins or jewelry.
Don’t be afraid to just dig up everything at first if this is your first trip to the beach – it will take some practice!
14. Bring a Trash Bag
Speaking of finding a bunch of junk and trash, it’s a good idea to bring a trash bag for the things you don’t necessarily want to keep but are also considered to be litter.
You can search the beach all day long and find signs of litter, from soda bottles and lids to plastic forks and knives. It’s really terrible that people would leave this stuff in a beautiful natural area like a beach, so if you see it, pick it up and throw it away.
15. Wear Headphones
Waves are loud. The wind is loud. Seagulls are loud. People shouting as they play volleyball are loud.
In other words: It can sometimes be hard to hear anything when you’re metal detecting at the beach.
While a lot of companies use specially designed headphones that are specific for the machine, almost any set of headphones is better than no headphones.
16. Go Where the Rocks Go
If you’re at the beach and notice an area where a lot of rocks seem to be settled, this can be a very good place to detect and look for treasure.
When you see pockets of areas that have a lot of rocks or small stones and pebbles, there’s always the good probability that things can become trapped or buried underneath and between the rocks.
Bonus: You might even find some nice stones, fossils and minerals for your rock collection at the same time!
17. Research the History of the Beach & Body of Water
It always surprises me that people know so little about the history of the different beaches when you consider how many people visit them daily.
Shipwrecks are especially interesting to research. While it may take a dedicated dive team and sophisticated equipment to ever uncover the lost treasures at sea, there’s always that potential, even in fresh water lakes.
Some of the things I like to research history-wise:
- Historic Topographic Maps: What the land/area looked like 100 & 200 years ago
- Construction of Monuments & Existing Structures
- Historical Uses of the Area
- Whether the area played any role in Wars, Battles & Conflicts
Almost nothing is exactly the way it was even 10 or 20 years ago – so doing a little research here can give you a lot of insight on what may be good parts of the beach to search.
18. Go Slow – It’s Easy to Miss Stuff!
Another good thing to remember while metal detecting at beaches is to go slow. It’s easy to see a giant stretch of sand and want to just run the metal detector over it real quick, but most of the time you’re going to miss everything if you do that.
Before you head out to the beach, remember to take some time to really practice and perfect your sweeps and swings. You want to give the coil of your detector a chance to connect with any sort of eletromagnetic field. If you go to fast, you might not make that connection.
19. Watch Out for Black Sand
Some beach areas have what’s known as black sand. This isn’t necessarily a bad thing – it’s just something to account for and consider when detecting.
Black sand usually contains a decent amount of iron ore, which may throw off the accuracy of your machine.
If you’re detecting in areas that have a lot of dark or black sand, it’s always a good idea to double check the settings on your machine.
This could mean adjusting the sensitivity or ground balance, depending on your equipment and what controls are available.
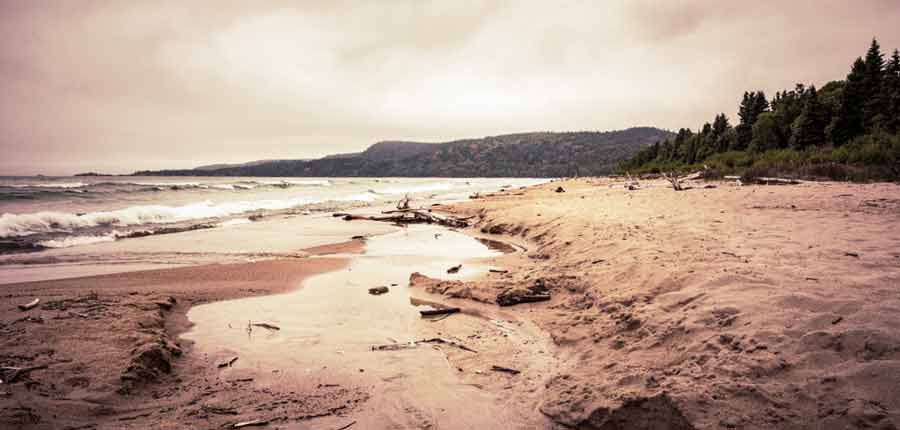
20. Avoid Big Areas of Nothing – There’s Probably Nothing There!
Most beaches, depending on the season and the flow of the tides, usually have an area that is completely flat, smooth, and seemingly nothing.
These areas, as you may suspect – generally are full of nothing. The movement of waves and water generally move everything somewhere else – such as where there are water pools forming or where you may see a lot of rocks, seashells and driftwood.
These smooth areas may look enticing, but generally, if you have a gigantic beach to search, you’re better off searching areas where there at least seems to be some sign of activity if you hope to uncover a lot of things in a limited amount of time.
21. Bring Some Clad Coins Just to Test With
Another good idea to do, especially if you are new to metal detecting on a beach, is to bring some clad coins and other identifiable but not necessarily valuable items to help you get used to the settings.
Throwing a penny in the sand or even a small piece of broken jewelry and then seeing what your detector does when it’s on the surface and buried at different depth levels can help you learn and recognize patterns to find stuff you may miss otherwise.
22. Always Try to Return and/or Report Any Recovered Valuables or Artifacts
Lastly, but not definitely not leastly, on the spectrum of metal detecting ethics, if you find anything of extreme value or of any historical significance, it’s best to report your findings.
While it can be very difficult to return lost items like jewelry or coins to people, it never hurts to make your best effort or browse different sites like ringfinder where people report lost items.
It’s also important to remember that many things may have historical significance, and so in those cases usually those items belong to the government. You do not want to be fined or arrested!
Bonus: Most of the time if you do find stuff you often will get a reward or even some press from local news outlets – which could always open up doors to new metal detecting opportunities for you! While fame & honor shouldn’t be the only motivation for doing the right thing, it’s definitely a possibility.
23. Traveling? Do Some Research & Stay Somewhere That Offers Private Beach Access
While not all of us are fortunate enough to own a piece of beach front property or even live close enough to search the beach daily, many times we are able to vacation in private beach rentals that offer a private access area to the beach.
If you are traveling to the beach and plan on renting a place to stay anyway, it never hurts to do some research and find if there are any private property areas where the property owner would allow you to metal detect.
You might just be surprised – some rentals might even include metal detecting equipment in areas where metal detecting and treasure hunting are very popular.
While areas with private beach access may not be the best places to search for things people have dropped or lost, it’s always quite possible things will wash up onto shore just with the nature of the tides and the way water moves and causes things to travel.
Metal detecting at the beach is a TON of fun, and I hope this article of tips and resources for learning how to have a successful beach hunt is helpful for you!
Do you have any tips for beach metal detecting? What beaches are your favorite places for finding treasures? What’s the best thing you’ve found ta the beach? Share your experiences & suggestions in the comments section below!